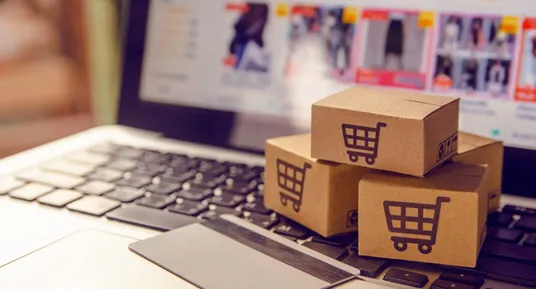
How to Submit Your Artwork Files for Custom Printed Boxes?
Submitting the right artwork file to your printer is crucial for getting the eye-enthralling custom printed boxes. Fortunately, in this wonderful post, the experts of The Custom Boxes have discussed all the details, essential components, and ideal artwork file format for excellent results.


The file you give to your printer needs to be print-ready to ensure that your custom packaging grasps the attention of your clients. In case you're wondering what a print-ready file is, it's a PDF that has been prepared according to the specifications of the printing process. To achieve a seamless print process, certain special features need to be ensured while producing a design file for custom made boxes rather than straight-cut products.
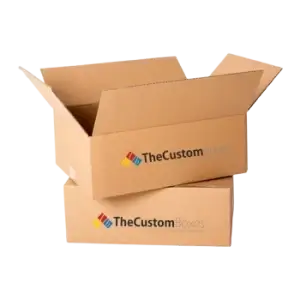
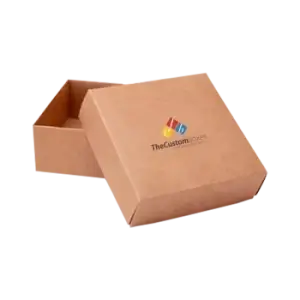
Perfectly crafted custom printed boxes provide excellent unpacking experiences to your venerated clients which also help to promote your brand. You must first build a design and get your artwork file ready for printing. After that send your design file for manufacturing. Keep in mind the criteria and guidelines given in this blog post, to help the team at The Custom Boxes bring your vision to reality.
Identifying The Essential Components Of Your Package
You must explore the essential characteristics of your products before designing their packaging. Determining these essential components should therefore be the first step in your custom box printing design process:
Type Of Packaging:
Consider your product and all the items that will be offered at your platform when choosing the sort of packaging. Are you wondering which kind of packaging would work best? You can view all custom boxes and sleeves that are available, along with their 2D and 3D presentations, by visiting our The Custom Boxes website.
Size Of Packaging:
Keep in mind that the size of your product will have a significant impact on the size of your package. Your custom boxes should be precisely tailored to the box's contents to ensure that there is no room left for internal collision. Also, it must prevent damage during handling and transportation. Any additional items that are placed inside the packing must be taken into consideration when determining the total package size. This includes brochures, instruction manuals, trays, or holders for your goods.
Packaging Materials:
The type of paper you should choose for your printed packaging will depend on several things. One of these would be the weight of your goods; the heavier it is, the thicker the cardboard needs to be for it to support the weight securely. Make sure you are using food-safe inks and paper that will stop the ink from soaking through to the opposite side of the paper when packing food items. Does your custom box for packaging require any waterproof components? The details of your product will determine the answers to all of these questions, therefore it is advisable to speak with our printing experts and ask them to guide you in making the best decision.


How To Get Your Art Ready For Print?

The most common method we employ to create custom printed boxes is die-cutting. Thus to choose your artwork, you must get an appropriate die line. Here are some things to think about before you begin:
- Select The Appropriate Program For The Work. Illustrator and InDesign file formats are accepted. If you submit a layered working file with embedded or supplied photos, the PDF format is allowed. Please refrain from uploading photographs in the JPG, BMP, or TIFF formats as we are unable to edit bitmapped files.
- Don't Forget To Include Fonts In The Files You Submit. You can select the fonts you want us to use from our available fonts, or you can send yours. Upon pressing, reverse the text and fill in any points with fewer than six.
- Include All Supporting Photographs And Links. Make sure to provide or embed any images that resemble your dream custom packaging box designs.
- Provide A High-Resolution Image. The best images are those made with anchor points since they can be stretched, bent, and resized without losing quality. The dots per inch (DPI) range for submitted photos is 150–300. It is important to start with a high resolution instead of squeezing images to the correct DPI. Bitmap line art submissions must have 1200 DPI resolution.
- Be Aware That Certain Coatings And Papers Will Crack. This procedure, known as checking, mostly affects the solid, dark-colored portions of your design that curve around the corners. When the paper's fibers protrude, checking happens spontaneously. Inform our professional team if it's an issue so we can talk about your material possibilities.
- Keep In Mind That Registration May Change During The Print Run. There can be variations of up to 3/32 inches depending on the direction due to equipment constraints in the die-cutting and lamination procedures. Remember that the borders and centered logos or images may vary while positioning your artwork. It is recommended to extend background colors and images by 1/4 inch beyond the box structure's edge or crease lines.
- Do Not Compress Files. If changes are required, it is preferable to submit to us the files that contain the original layers that were used in the creative process.
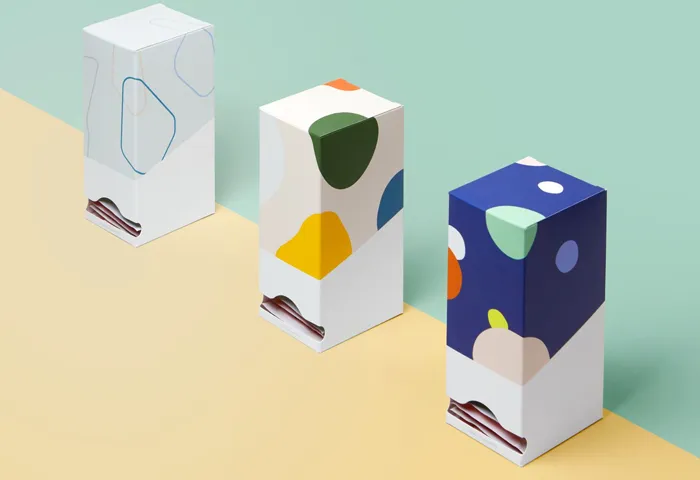
- Enumerate Every Hue That You Used In Your Design. Colors can be used in CMYK or Pantone. If you are unsure about the colors you want, the staff of The Custom Boxes will be pleased to provide you with some swatches to go through.
How To Submit Your Original Artwork?
For the highest quality custom printing on boxes, please read and abide by the instructions before submitting your artwork file formats. If this doesn't fit these specifications, it might:
- Take longer to produce.
- This may result in further fees.
- Can encounter delays in the finished product's manufacture.
First Step: Review Your Work
It's time to make sure that every creative aspect of your design is print-ready after our team has authorized and finalized it. Look for the following in your file:
- Image Resolution: For optimal outcomes, all photographs must have a minimum resolution of 300 dpi. The logo or artwork you downloaded from the internet may be 72 dpi (web resolution) to craft custom boxes with logo. The quality of this resolution is insufficient for digital printing.
- Outline Every Font: To guarantee that your particular typeface can be reproduced in production, make sure to convert all fonts to outlines.
- Color Mode: Your file needs to be in CMYK mode since digital printing uses the CMYK color spectrum. The conversion of all spot colors to CMYK is possible, and using Pantone swatches may result in unexpected outcomes.
- Recognize the Dieline: A dieline, or the flattened outline of your custom boxes packaging product (such as a box, label, or display), will be included in your artwork file. To guarantee that your artwork is within the printing range, make sure it is within the dieline's edge. Remember that any significant copy and graphics need to be positioned at least 1/8" away from the cut and crease lines.
- Bleed Lines: If you want to print your artwork edge-to-edge, extend it ¼" past the dieline to your file's bleed line, which could or might not be visible. During the processing of the artwork, anything placed beyond this bleed will be immediately eliminated.
Second Step: Selecting The Correct File Type
For optimal results, we strongly advise clients to submit native or open files. This makes it simple for our graphics team to examine and work with your file. Make sure your native file is layered; avoid combining your layers. Moreover, the dieline of box design needs to be on a separate layer. Your file needs to be saved with a high quality if you decide to save it as a PDF. Whether you're using Photoshop, Illustrator, or InDesign, you must provide all the graphics and images that are used in the file. You can utilize the Package command in InDesign, or manually include all the source photos in a different folder.
Third Step: Compress Your Artwork
Compressing your artwork folder will make it easier to upload in the following step. Rename the folder with the project name first, then your organization's name. The graphics department will be able to identify the particular project easily through this.
Fourth Step: Put Your Artwork File Online
The uploading of your artwork file is the last step. Complete the form at the website of The Custom Boxes then upload the compressed file.
Speak With Our Advisors
Your artwork file is thoroughly examined by our graphics department after it has been successfully submitted. Then it is sent to production. You will be informed right away, in case of any problems.
Speak with one of The Custom Boxes' knowledgeable and committed packaging advisors right now if you have any queries or concerns about submitting your artwork. Our expert graphics team collaborates closely with our packaging advisors to guarantee that your artwork file is ready for digital printing and that your intended packaging result will be realized.
Premier American Manufacturer of Packaging and Custom Boxes
Experience the ease of creating and ordering custom boxes and affordable packaging online with the Custom Boxes. Contact us today to discover how we can turn your packaging vision into a reality.

Payment & Security
![]() No Hidden Charges
No Hidden Charges
![]() Money Back Guarantee
Money Back Guarantee
thecustomboxes.com online guarantee the privacy of all the customers and never share their personal information with third parties. For more details read our Privacy Policy.


you might also like